
How to update your connection details if you have a dynamic ip address
If you're not using our software and wish to stick to the traditional DNS over port 53 we have no way of authenticating you besides your IP address. A DNS server does not receive much from the request(client IP and requested DNS records). The only piece of information that we can use to identify a user is the IP address. When that changes, we have no way to determine your identity. If an IP address is not recognized within our system, we block the requests.
Many ISPs recycle ip addresses and, usually when your router restarts or re-connects, they assign a different one from the available pool. Updating your connection with the newly assigned IP is easily done by multiple methods right now so pick the one that suits you best.
Use a VPN
Most recommended method as it creates a robust privacy shield that covers all aspects. For this method to work we recommend picking a router that can create VPN connections - something that supports OpenWRT.

When creating the VPN config, add your dnsadblock DNS address as the DNS server. Remember to whitelist the VPN address in dnsadblock. Ideally, the VPN and dnsadblock DNS server that you pick should be close to each other and close to you.
The VPN type we suggest is Wireguard because it is lighter on resources and will perform better. If you're interested in pros and cons over the supported VPN protocols with our service please see our OpenVPN vs Wireguard article and decide which one works best for you.
Update it manually in your connections page
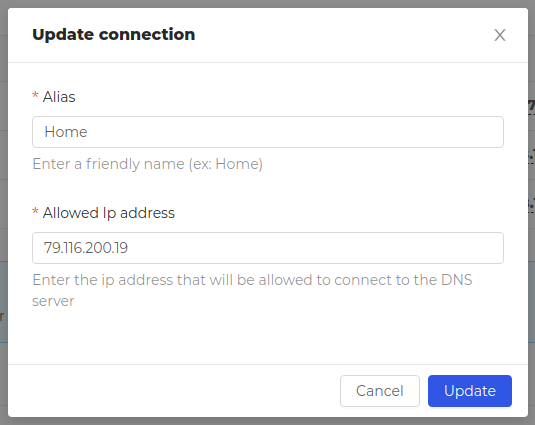
The easiest solution is to go to your dashboard, find your connection and update the allowed address:
This feature is not recommended unless you wish to test things out or if you use our DNS servers on a single device. If used on a router, all connected devices will lose internet connection until the update is manually performed.
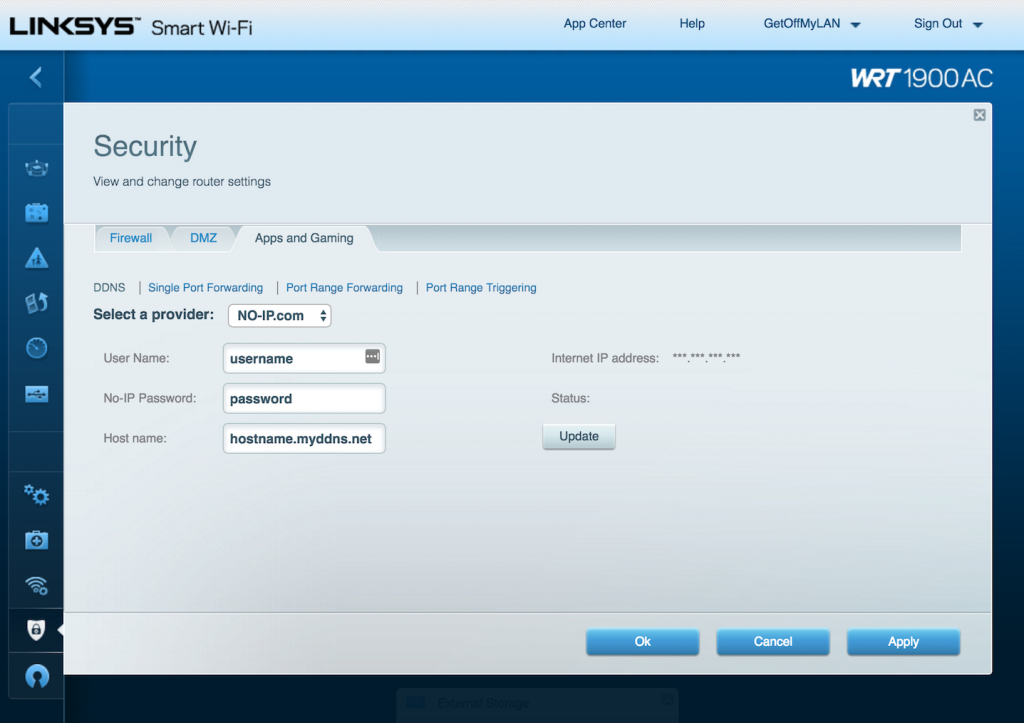
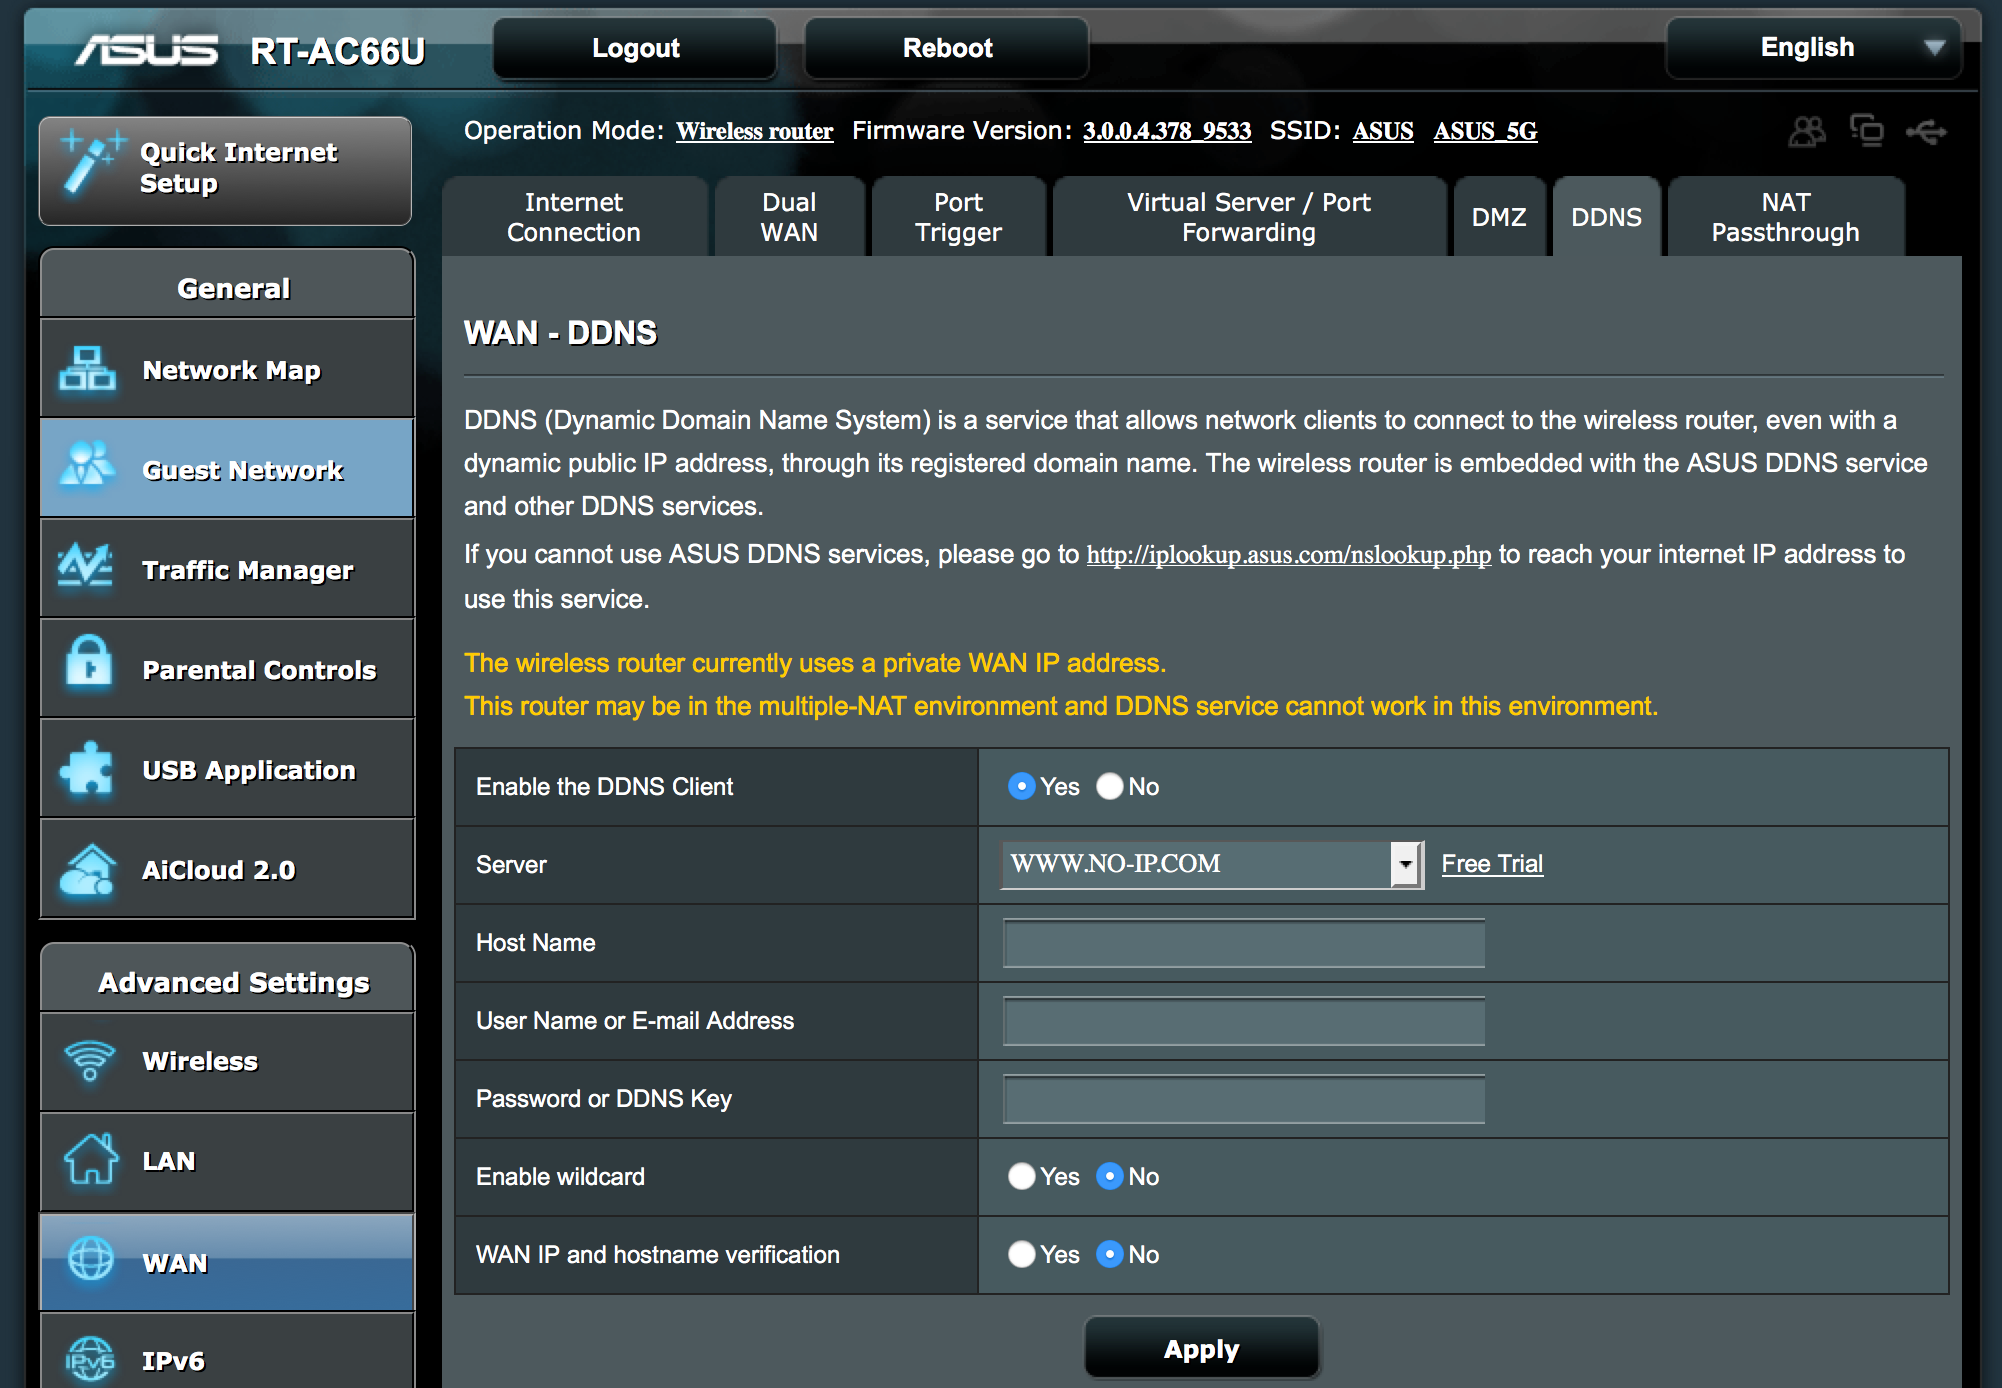
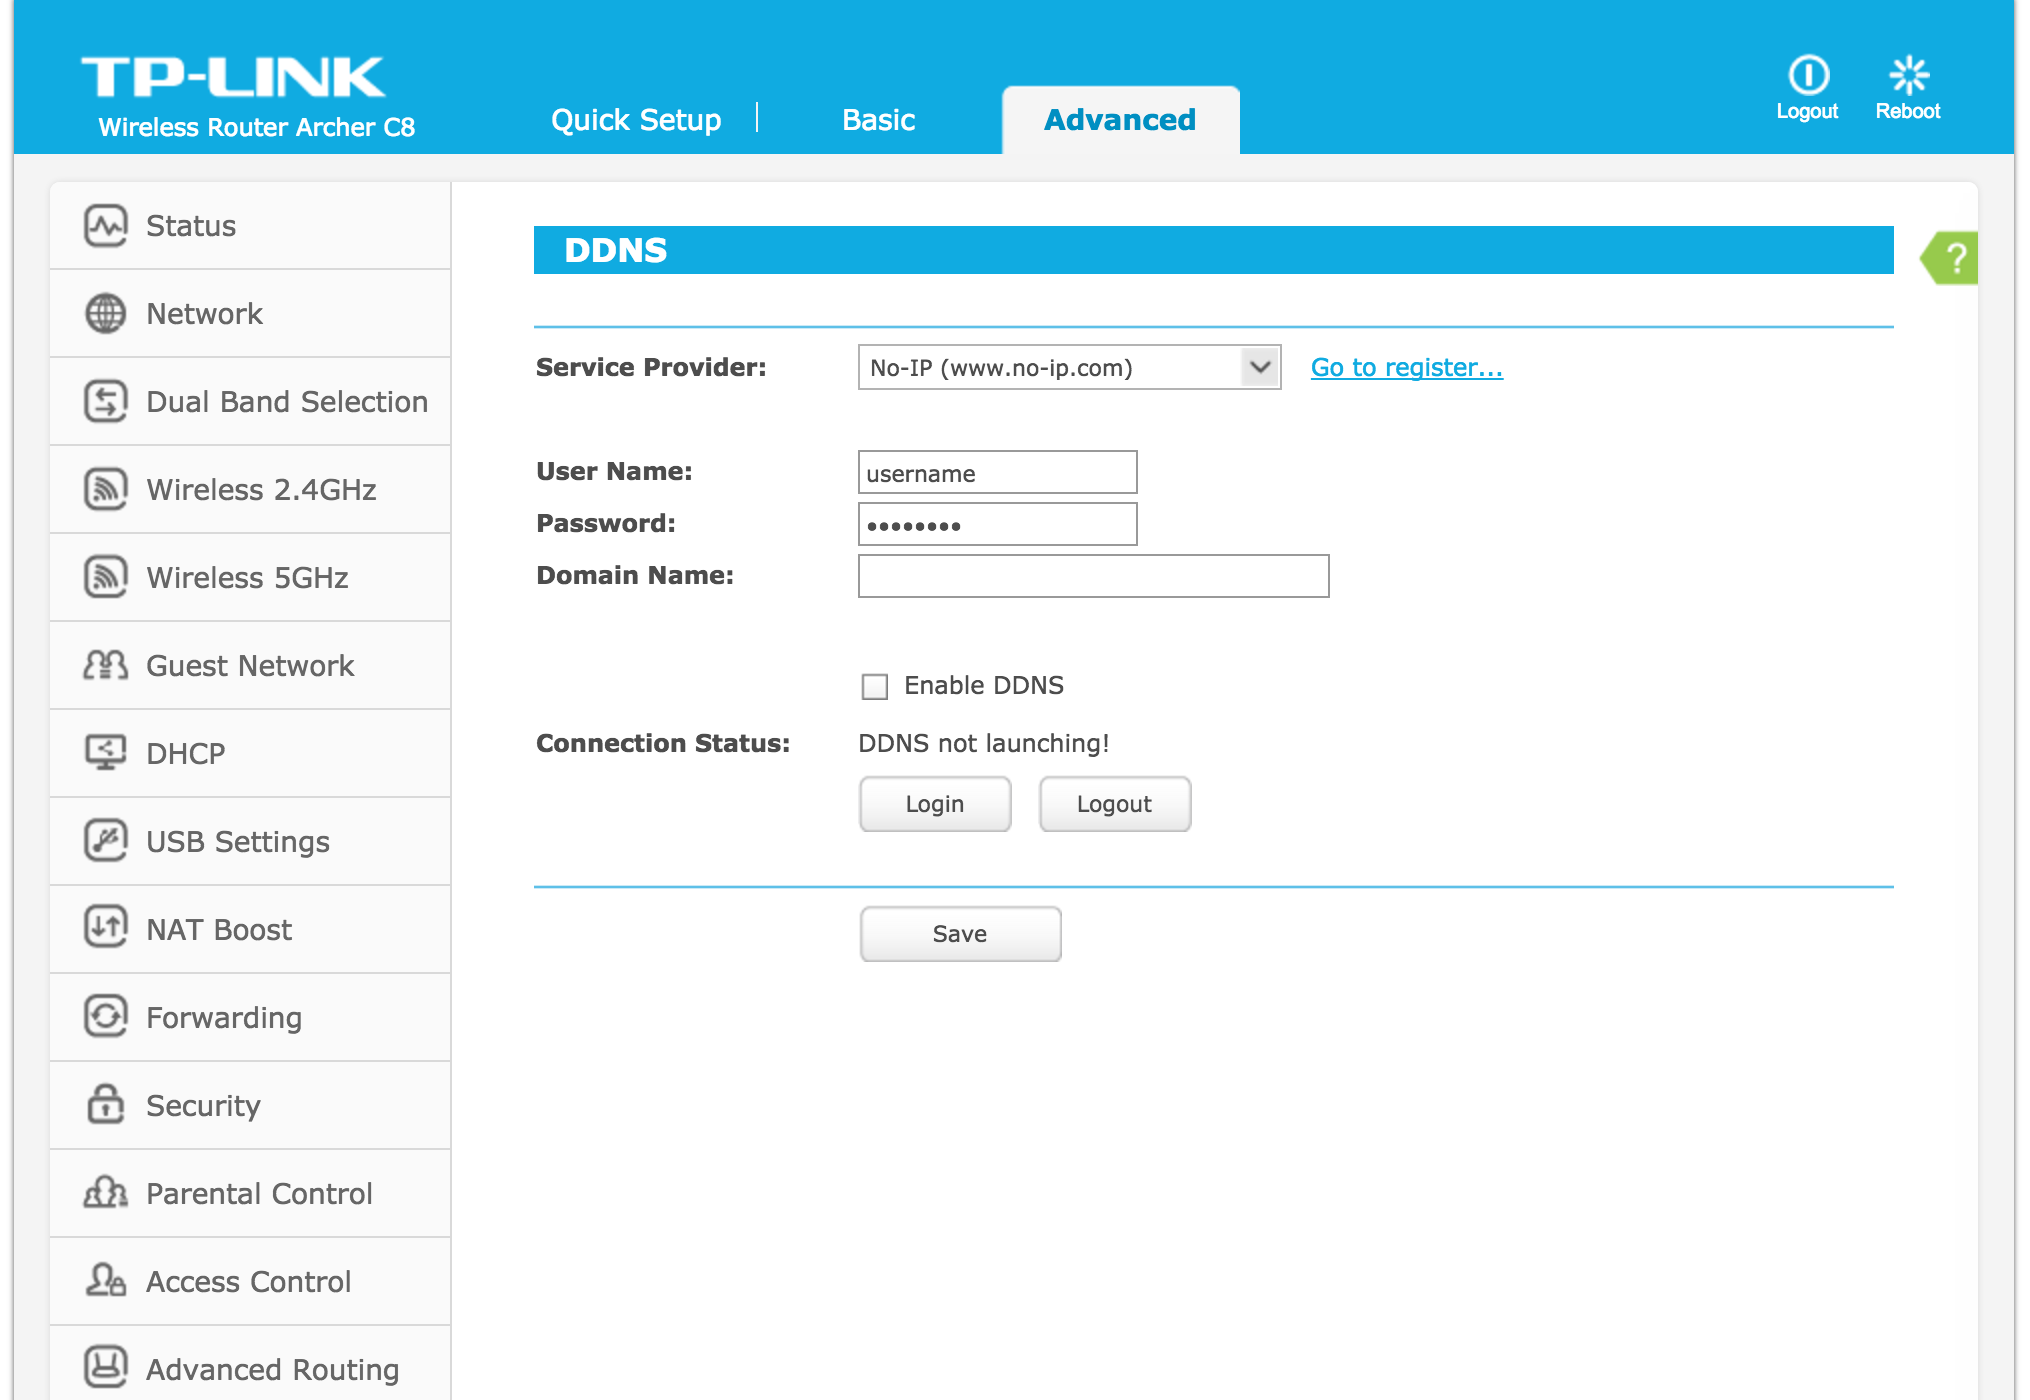
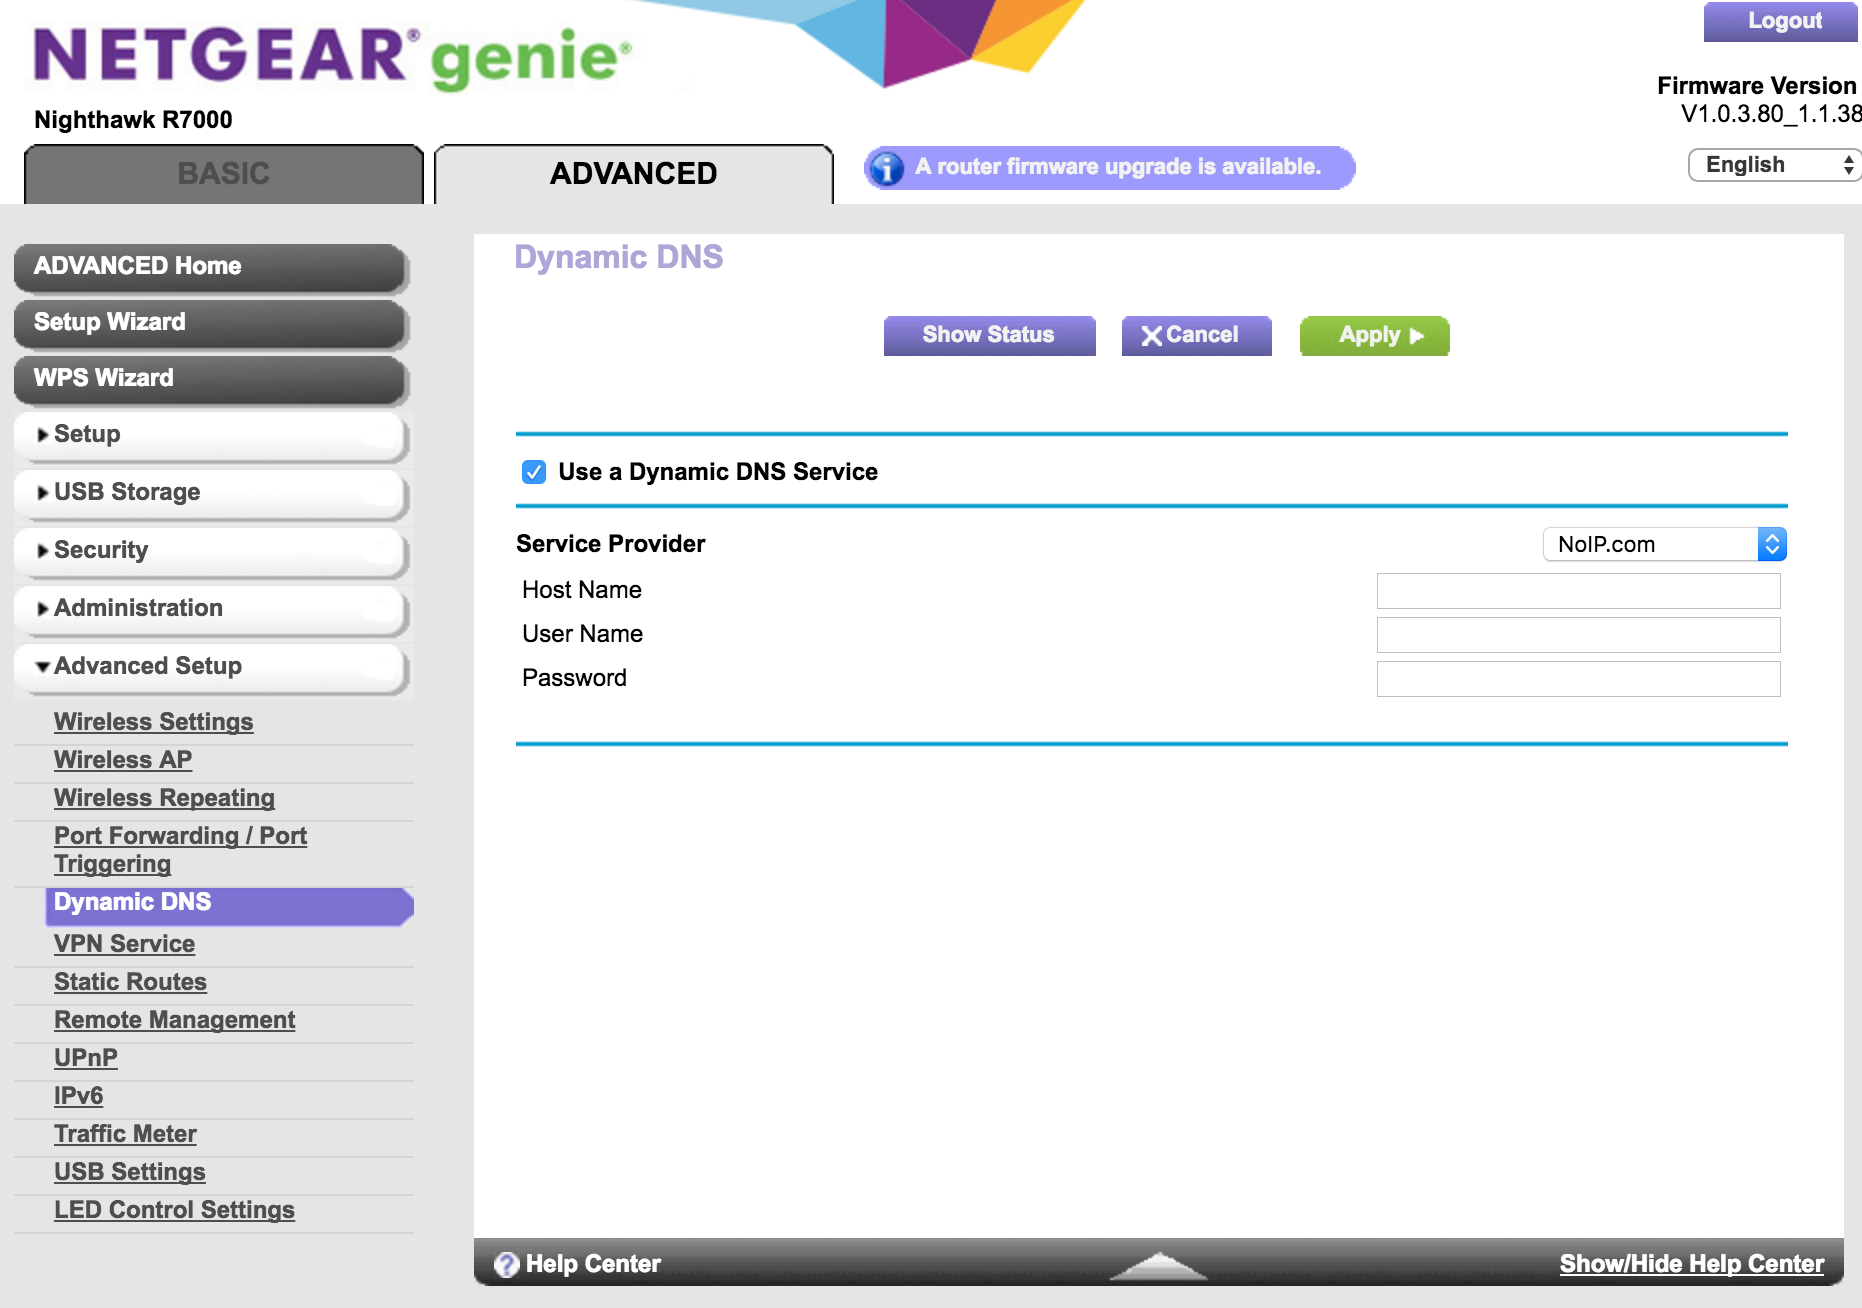
Using a dynamic DNS service such as DynDNS or NoIp
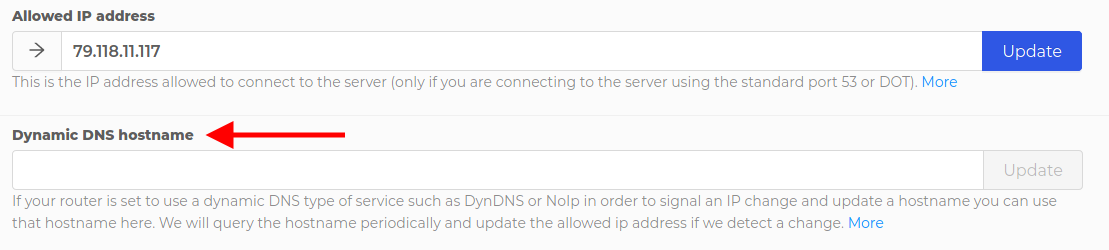
Highly recommended because most routers support this feature. Each configuration has a field called Dynamic DNS hostname which can be used to store a hostname which gets updated by services such as DynDNS or NoIP. Most routers have this functionality (even the locked ones):
The gist of it is this one:
- on IP change your router notifies the dynamic DNS service
- the dynamic DNS service updates a hostname that was assigned to you
- we monitor that hostname and, when its A record changes, we also trigger an update on our part with the new IP address
We query for record changes at every 2 minutes so we should be picking up the new IP address fairly quickly.
This is our recommended way for routers!
Update it programatically using our API
All our endpoints are API accessible and updating your connection is easily doable using a simple GET request.
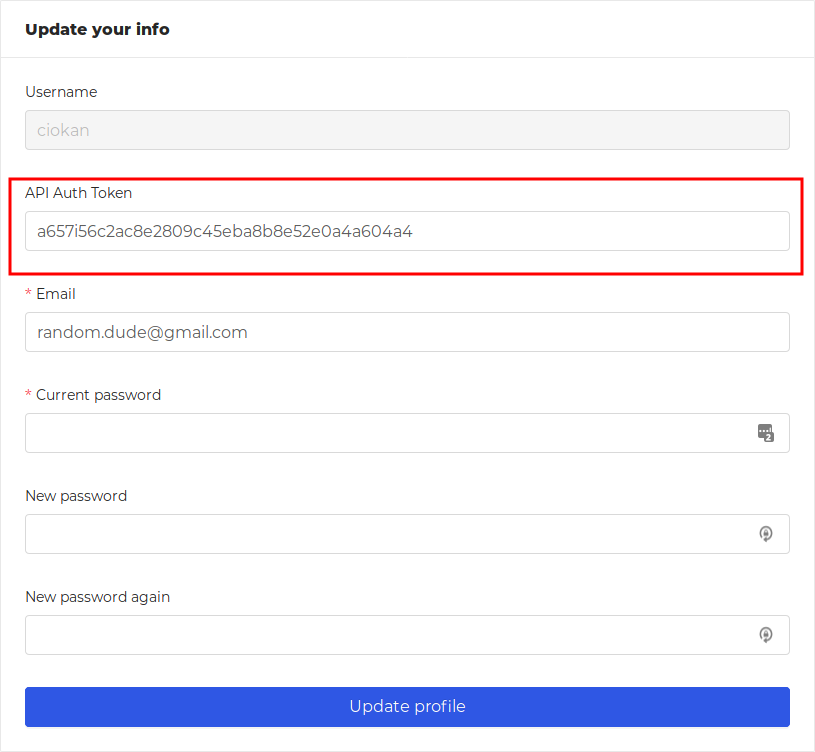
Our API requires authentication so make sure you grab a copy of your API token before attempting to call any endpoints
If my new IP address is 23.21.23.21, the API url will be: https://backend.dnsadblock.com/api/user/connections/4621/23.21.23.21/.
Now that we have our API url for this connection is time to create the GET request. This is the time where we have to also provide the token we copied earlier and pass it on in the request headers. I will provide here a full working example in Javascript.
const autoUpdateDynamicIp = (newIp) => {
     const apiUrl = "https://backend.dnsadblock.com/api/user/connections/46";
     const apiToken = "a657i56c2ac8e2809c45eba8b8e52e0a4a604a4";

     axios.get(`${apiUrl}/${newIp}/`, {
         'Authorization': `Token ${apiToken}`,
     });
}
The example uses the axios npm package so make sure to npm install it before using the code.
So we got our API token (
a657i56c2ac8e2809c45eba8b8e52e0a4a604a4in our screenshot - completely fake but we will use it as an example), next we need to also grab the API url where we send our new IP address. For this, you will have to navigate to theConnectionspage in our application and expand the connection for which you're performing the updates. Once expanded, scroll to the bottom of the list and copy theAPI update Ip urlvalue from that input. It will look something like this:https://backend.dnsadblock.com/api/user/connections/4621/<new-ip-address>/. Whenever you need to update, make sure to replace<new-ip-address>with the actual IP address (the new one).